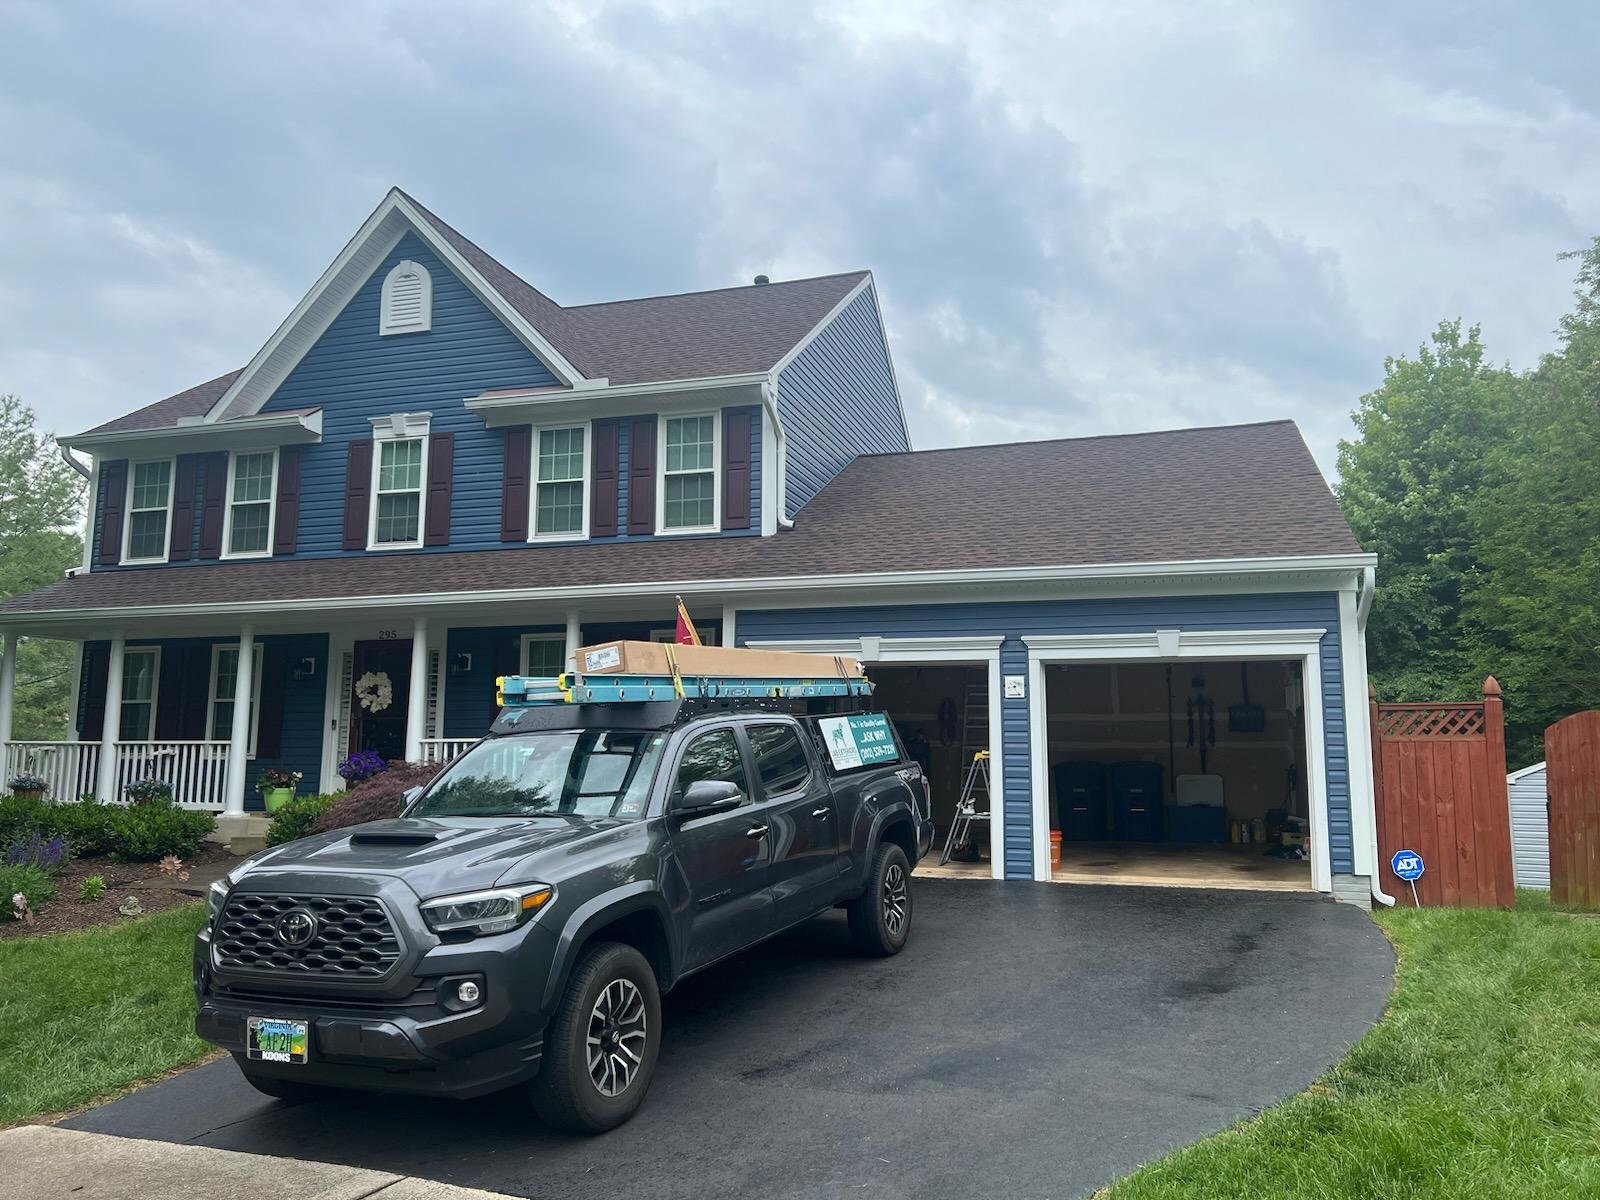
Your New Siding
Replacing your siding can completely change the look and feel of your home
Preparing for your siding installation project
There are a number of things you can do to prepare both the outside and inside of your home. Our siding replacement professionals will need clear access to the exterior of your home and plenty of space to do their work. Additionally, you will want to take steps to protect your family and valuables from the construction process. Here are the steps you should take to prepare.
Clear around your home’s exterior
To ensure the smooth and efficient removal and replacement of your home’s siding, it is important to take the time to trim grass and bushes around the perimeter of your house. Additionally, it is essential to clear any objects such as furniture, plant pots, toys, and other items that may be in the way of easy access to the exterior walls. This will make it easier for our team to work quickly and efficiently since they will have plenty of space and a clear path to the exterior walls. Furthermore, when items are removed from around your home’s walls, you can reduce any potential damage that could occur due to objects falling or being knocked over during the process.
Prepare the inside of your home
Due to the vibration generated by the removal and replacement of siding, it is important to relocate items on shelves and leaning against walls to a more stable location in your home. This will help minimize the possibility of damage to these items due to shifting during the construction process. It is especially important to move any delicate items that may be stored on or near walls, such as collectibles or porcelain decorations. If necessary, you could also consider taking down certain light fixtures or other objects that could potentially be affected by shaking or vibration. Not only will this help protect your belongings, but it can also reduce the risk of potential injury caused by falling objects. Taking these steps before work starts can make the entire siding replacement process go more smoothly and ensure that all your belongings stay safe throughout the job.
Think of the children…and pets
When it comes to siding replacement, it is also important to keep children and pets away from the construction site. While our team is working on the outside of your home, there may be debris or dust that could be hazardous. Additionally, the use of tools like ladders, saws, and other power equipment can add to potential risks in the yard. For these reasons, it is important to move any outdoor activities elsewhere until construction is completed. This would be a good time for kids to visit friends or relatives and pets to be sent to pet daycare or stay with a friend.
The siding replacement process…
Step one of the process is the delivery of the materials to the customer’s home. All materials are carefully packaged & wrapped to avoid any damage to your siding during shipping & delivery.
Materials delivered to your home
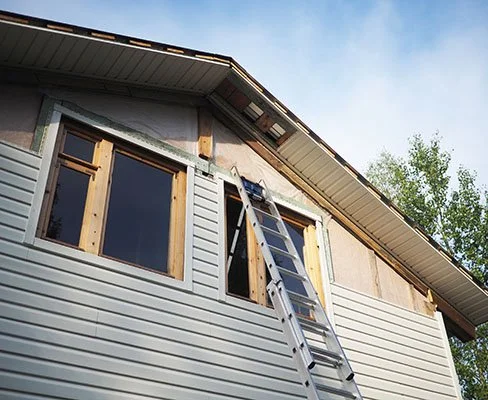
The removal process is the first step in replacing your home’s siding. It involves carefully removing the existing siding and underlying materials, such as insulation or other materials. Because vinyl siding is installed over an existing structure, it tends to mask structural defects like cracks, holes, moisture problems, etc., which can cause problems afterward. Any issues that are found during the inspection process will be addressed before installation begins.
Doing these repairs is important as they can help avoid more costly repairs down the road and ensure that your new siding looks great and lasts for many years. Planning ahead for the possibility of additional cost and/or time for repair work will help make that work less stressful if it is needed. Once the repair work is completed, our team will begin installing the new siding.
Our siding crew will clean up the work area after each day’s labor, and a thorough cleanup is also done once the project is finished.
Removal, Inspection & Repair
Install Waterproofing to exterior walls
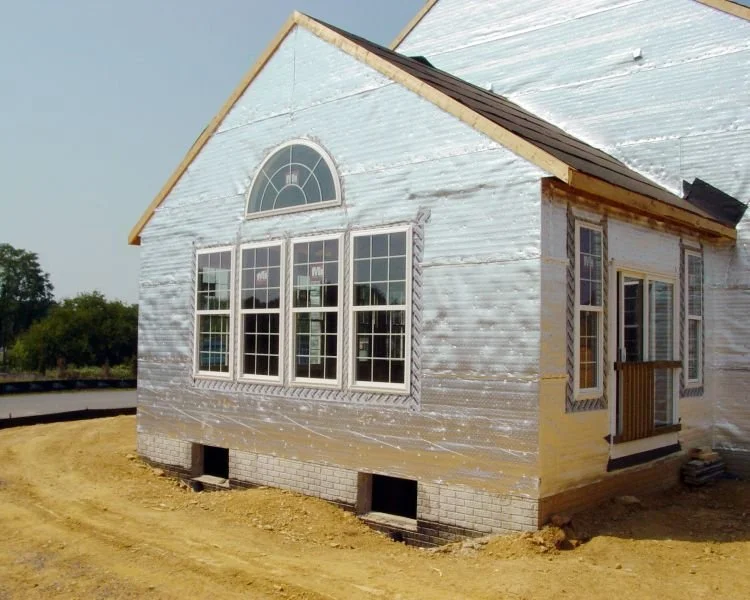
House wrap is a water-resistive barrier (WRB) that keeps moisture from penetrating the house and allows vapor to escape, leaving the walls dry and lowering the risk of water damage. House wrap seals leaky spots in the house, slowing down the rate at which air escapes. In colder weather, your house will retain heat, and you will spend less energy keeping the house warm and comfortable. A radiant barrier and thermal break can also be installed on your walls.
House wrap is installed using cap nails and tape at all seams. Flashing tape will be installed to the perimeter of doors, windows and all penetrations. We will also install “Z” Flashing over all windows & doors. For more information about house wrap, please visit our Learning Center.
Installation
Once the repair and prep work is completed, our team will begin installing your new siding. This process involves placing the new siding over the existing wall surface and attaching it. We will then caulk and seal any gaps or seams to protect your home from outside elements such as water, air, and pests.
If you’re interested to learn more about the install process, right down to nail placement, please visit the Vinyl Siding Institute website for more information.
Other Options for Your Project
Low-E Insulated housewrap provides a thermal break between the blazing heat of the sun and your cool air conditioned house. Low-E Housewrap blocks 97% of radiant heat. To learn more about Thermasheet, you can visit our Learning Center or visit the Low-E website for additional information.
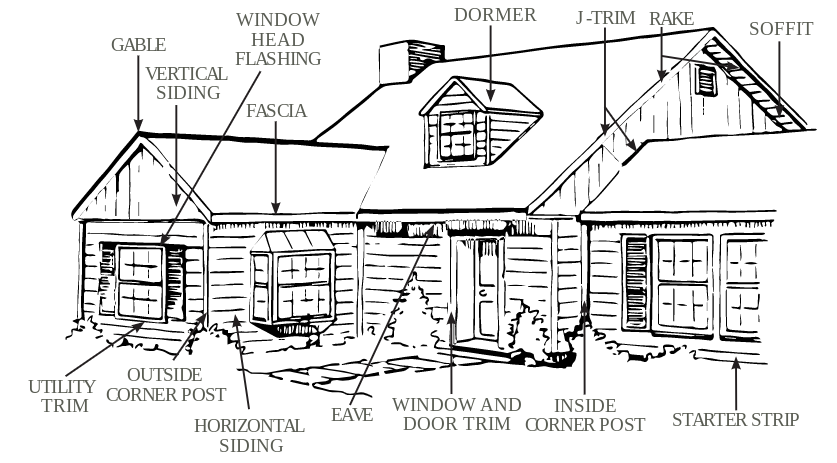
If you are considering re-siding your home, it’s also a good idea to consider replacing your fascia, soffit, and trim. Doing so can provide a number of benefits, including improved energy efficiency, increased durability and improved curb appeal. Fascia, soffit, and trim can make a big difference in the overall appearance of your home. Replacing these components with new, high-quality materials can give your home a fresh, new look. Visit our Learning Center for more information about adding this step to your project.
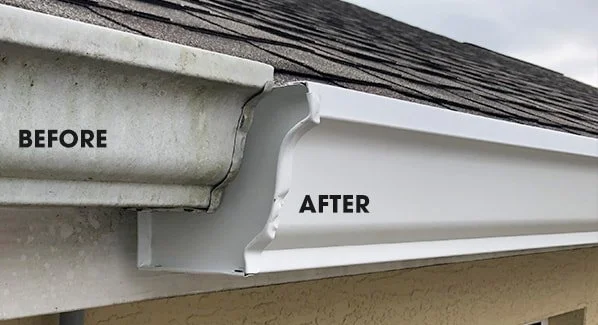
Buying a new suit or dress is a perfect time to buy new shoes and a siding project is the perfect time to upgrade your old, dirty, 5 inch gutter system to a new 6 inch gutter system with 3x4 downspouts.
To find more information about the benefits of 6 inch gutters, please visit our Learning Center.

